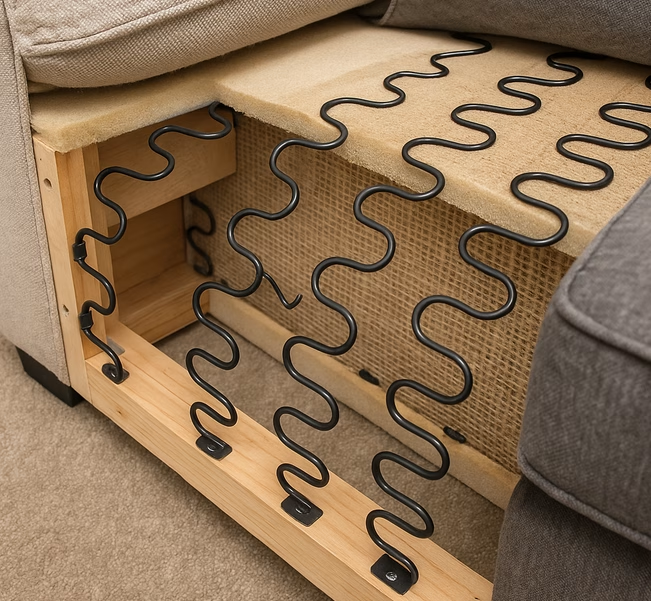
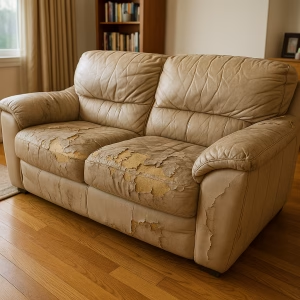
There is nothing worse than settling into your favourite sofa or armchair only to feel a sudden dip or wobble under you. A broken spring can ruin the comfort and support you count on. Before you start shopping for a brand-new piece of furniture, there is good news. Fixing a broken spring is often a straightforward DIY job you can tackle yourself with a few basic tools and a bit of patience.
Here is a simple, step-by-step guide to help you bring your sofa or armchair back to life.
Step 1: Gather the right tools
Before you get stuck in, make sure you have everything you need. Trying to fix a spring without the proper kit will only make life harder.
You will need:
- Pliers
- Wire cutters
- Upholstery needle
- Heavy-duty thread or twine
- Replacement springs (if needed)
- A flathead screwdriver (for stubborn staples or clips)
- A seam ripper or small scissors
Tip: It is worth setting up a clear workspace. You might need to flip the sofa or chair over, so leave enough room to move around easily.
Step 2: Inspect the damage
Start with a good look at the sofa or chair. Sit on it, press down gently, and feel where it sags or feels uneven. Flip the furniture over if needed and check the underside.
Look for:
- Springs that are visibly snapped, bent, or hanging loose
- Broken clips or missing fasteners
- Areas where the spring has popped out of position
Take your time here. Finding all the weak spots first saves you from repeating the job later.
Step 3: Remove the upholstery
To get at the broken springs, you will need to pull back the fabric or leather cover.
- Look for zippers, Velcro, or stapled sections underneath.
- Use your seam ripper or scissors carefully to detach the material without tearing it.
- Peel the fabric back gently until the frame and springs are exposed.
Take note of how the upholstery was attached. It will make reassembly much easier later on.
Step 4: Find and assess the broken springs
Once everything is open, have a good look at the spring system.
- If a spring is snapped clean in two, it will need replacing.
- If it is bent or stretched out, you might be able to bend it back into shape.
- If it is detached from the frame but still intact, you can usually reattach it.
Check the surrounding springs too. If one has gone, others may be under strain and close to breaking.
Step 5: Repair or replace
Now you are ready to fix the problem.
- For bent springs: Use pliers to gently bend them back to their original shape. Reattach them securely using the original clips or fasteners.
- For detached springs: Re-hook or re-tie them firmly to the frame. Heavy-duty thread or twine can help with this if clips are missing.
- For broken springs: Cut them out with wire cutters. Take one with you to the hardware shop to match the size and strength. Install the new spring exactly as the old one was fitted.
Make sure everything feels firm and evenly tensioned. A loose or badly-fitted spring will just break again in no time.
Step 6: Reattach the upholstery
With the inside sorted, it is time to put it all back together.
- Pull the fabric neatly back over the frame.
- Line up any seams, zippers, or Velcro patches.
- If the cover was stapled on, use a staple gun to secure it again.
- Smooth out any wrinkles as you go to avoid sagging later.
Take it slow and double-check your work. Neat upholstery makes the whole repair look more professional.
Step 7: Test your work
The final and most important step. Sit down.
- Check for even support across the seat and back.
- Feel for any loose spots or creaks.
- Give it a good shift about to make sure everything stays in place.
If it feels sturdy and comfortable again, job done.
We believe a good sofa deserves a second chance
Fixing broken springs on your sofa or armchair might sound daunting, but it is easier than most people think. With a few tools, some care, and a bit of time, you can bring your furniture back to life without spending a fortune.
Of course, if you start pulling it apart and realise it is worse than you thought, there is no shame in calling in a professional upholsterer. Better safe than sorry.
At Alec’s, we believe a good sofa deserves a second chance. If your repair goes well, you can enjoy your trusty old seat for many more years. And if not, well, you know where to find a clearance sofa bargain that will not break the bank.


 Modern Swivel Recliners – Style, Comfort, and Total Relaxation
 Furnish your Airbnb the Right Way – Quality Beds and Sofas from Alecs
 Autumn Sale at Alecs – Beds & Sofas Ready When You Are
 Why our Customers keep coming back to Alec’s